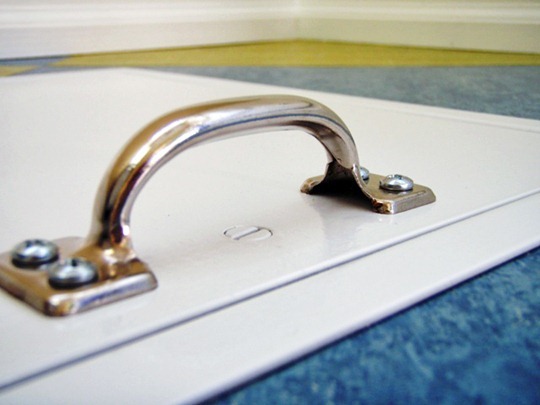
 The final component of the bathroom re-do, the laundry chute door, was a real puzzle to figure out. We were really brainstorming about what to use – Brand new door? Custom made door? Build it ourselves out of wood door? Find a used cabinet door? A reader , Laurie, even had a great suggestion of framing one of the floor tiles and using that as a door.
I’ll admit that I was beginning to get a little too comfortable with the temporary door and found myself thinking about just leaving it. Ready to have the project finished, we headed out to hit all of our usual second-hand building spots: ReBuilding Center, Hippo Hardware, and Habitat for Humanity ReStore. We did find a door that we both really liked and I’m happy to report, it’s working like a charm – now.
Laundry Chute Evolution
OK, I know this “before” picture looks bad. This is the old door that was on our chute which we painted along with every other surface in the room. It’s wood that we painted white. When our kids were little, we kept a 45lb hand weight on the door to keep them from climbing down the chute. The laundry chute used to drop directly onto a concrete floor in our basement. It still goes into our basement but during the basement bathroom (fondly known as “the man cave” around here) renovation, we angled the chute and now it drops into a rolling cart.
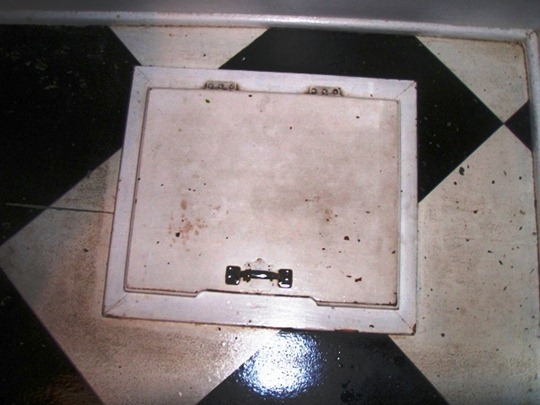
The next step was removing the old door to reveal our previous flooring. Now you understand why we painted every surface, including the flooring.
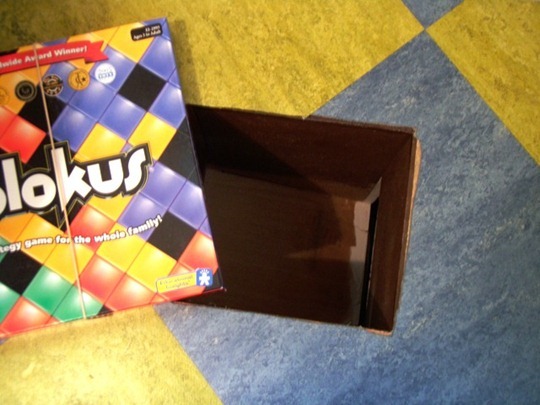
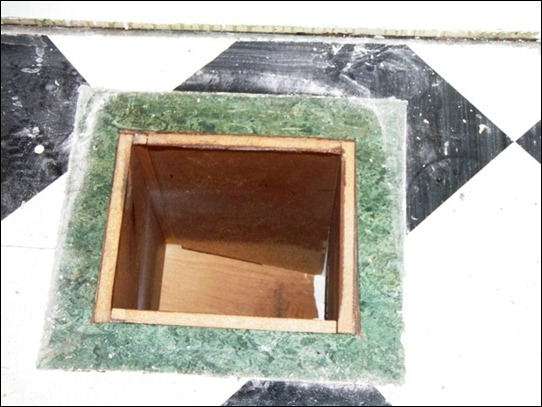 The next step was to lay the new plywood sub-flooring, followed by our pretty new Marmoleum flooring. We had to cut the flooring up from the basement (which we mostly did from the basement using an Exacto knife) to reveal the hole. Blokus, a favorite family game, was just the right shape and size to serve as a temporary cover.
At this point, we started investigating having a laundry chute door made. That wasn’t ideal because the cost was more than we wanted to spend. We had looked at all of our regular haunts but had only found one door that was a possibility. This metal access door, found at The ReBuilding Center, wasn’t the exact size but it was close enough. It was definitely the right price: $2.00. I wouldn’t have minded the grey-ish color below but someone had sprayed the door beige before us, so spray painting it white seemed like a good solution.
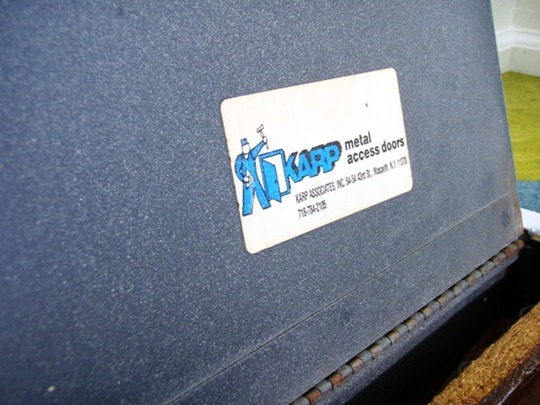
There aren’t any “before” pictures of the door. My husband got started on the project while I was on the computer (no doubt being the naughty “Internet Girl” and looking at Pinterest). There’s no way I want to stop him when he’s tackling his honey-do-list either. The worst part of the laundry chute project is the next picture.
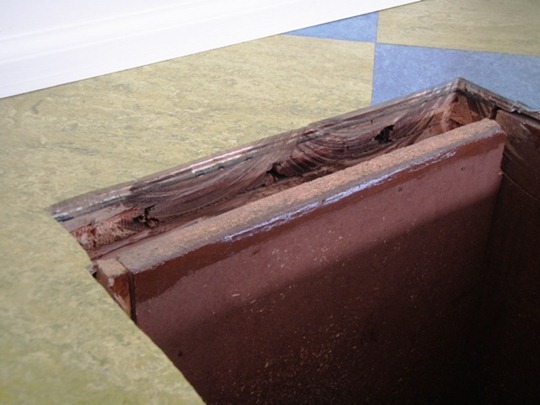
See those saw cut marks? The floor had to be cut to make the laundry chute door fit. That wood was so thick and old (yes, built in 1914, our house has very thick old timber) that when it was cut, the smoke and dust was so thick, our smoke detector went off! This almost brought me to tears because our nice clean practically finished bathroom was once again covered in construction dust. I was not allowed in the bathroom until it was all cleaned up. I think all of the dust broke our vacuum because it hasn’t worked properly since this clean-up.
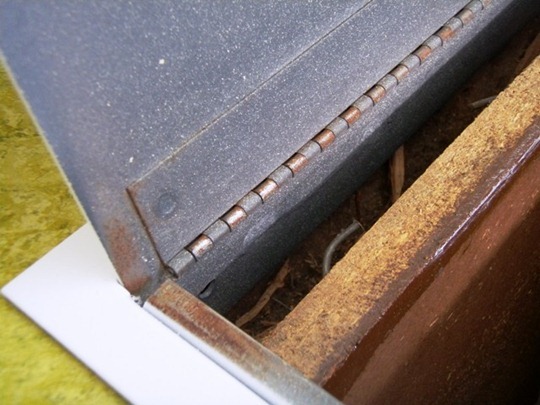
And now the new door is in place.
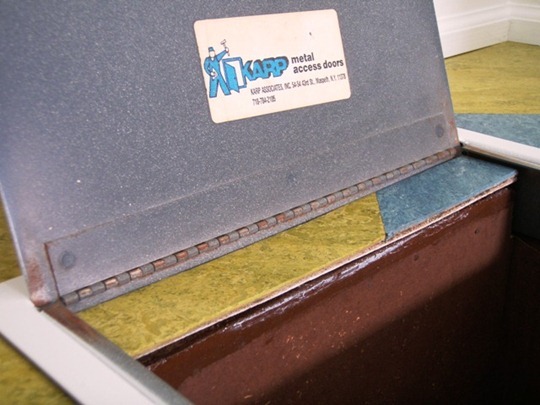
I do like how we used the scrap from cutting the door. We certainly like to use leftovers at our house!
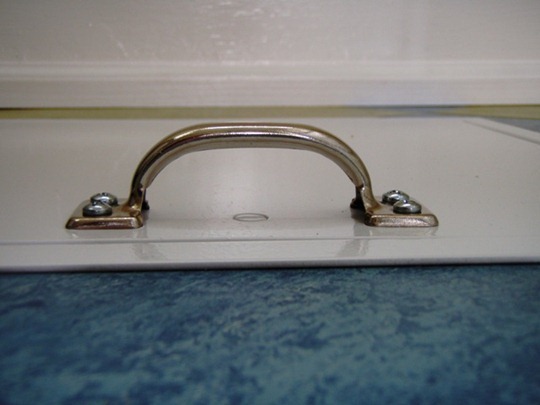
We re-used the handle from our last laundry chute. The four holes were drilled into the laundry chute before it was painted.
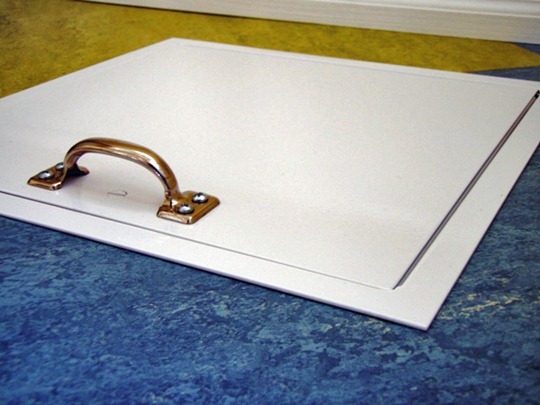
Two coats of bright white appliance spray-paint was all it took. The can of spray paint cost more than the door.
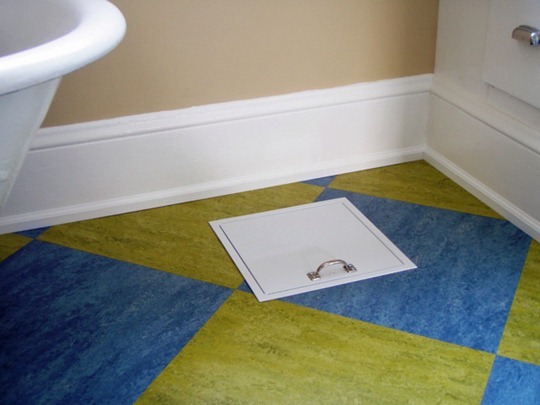
Now, if the bathroom could clean itself, we’d be all set!
Go Gingham bathroom renovation related links:
Finding Inspiration for a Bathroom Re-Do
All the sources we used for our bathroom re-do project are here.
Bathroom Project Part 1
Bathroom Project Part 2
Bathroom Project Part 3
Bathroom Project Part 4
Bathroom Project Part 5
Goodbye Bathroom
Our fun adventure to find a claw foot for the bathtub – we traded!
DIY project redoing the missing claw foot
Gingham shelf liners I made for the bathroom – yes, gingham
Grommets and shower curtains – easier than sewing button holes!
Bathtub in old bathrooms – shower curtain holder
A slip-cover for the toilet tank – yes, you read that correctly!
How to keep a house project sustainable – for the wallet and environment
The entire bathroom looks great, Sara!
LikeLike
Thanks Darcy! Come over anytime for a tour. I can’t promise it will be this clean 🙂
LikeLike
Wow – it looks so clean and new! I wish I had a laundry chute!!!!
LikeLike
Annie! It is super handy! Laundry still piles up in our upstairs, where our bedrooms are located. THAT is where I need the chute. Thanks Annie!!
LikeLike
for $9 more you could have had this!
http://www.alleewillis.com/blog/tag/porthole-laundry-chute/
(scroll to bottom)
LikeLike
You’re the second person to send me this link! It’s very cool but as my stylish 15-year-old son pointed out, it wouldn’t look right in our bathroom. He thought we’d need a whole nautical theme going on. I think he’s right. I do love how this looks and it’s very clever. Thanks Jason!
LikeLike